Weeping Creek (悲泣溪谷) is the first open map in Phantom Blade Zero, and the easiest one to walk straight through. The main story only asks you to fight your way from the cart wreck to the great waterfall, but the map holds far more than that route: 21 bells, four keys, eight upgrade shards, seven boss fights, and four side quests that fail permanently the moment the story moves on.
This guide is organised as map skeleton, then keys, then shards, then bosses, then the content that expires. Bell names and positional descriptions come from Chinese-language walkthroughs; the game does not display English place names, so every English name here is a descriptive translation rather than an official one.
What Weeping Creek is: a map built around bells
The region is not one large arena. It is a stack of platforms at different heights, connected by iron chains, wooden bridges and ropes. Vertical layering matters more than horizontal distance: from the puppet-strewn valley floor up to the five storeys of the Sha-Chi Tower, traversal runs on three verbs — swinging across chains, climbing walls, and dropping ladders. Several of those ladders can only be lowered from the far side, and only become shortcuts once you have done so.
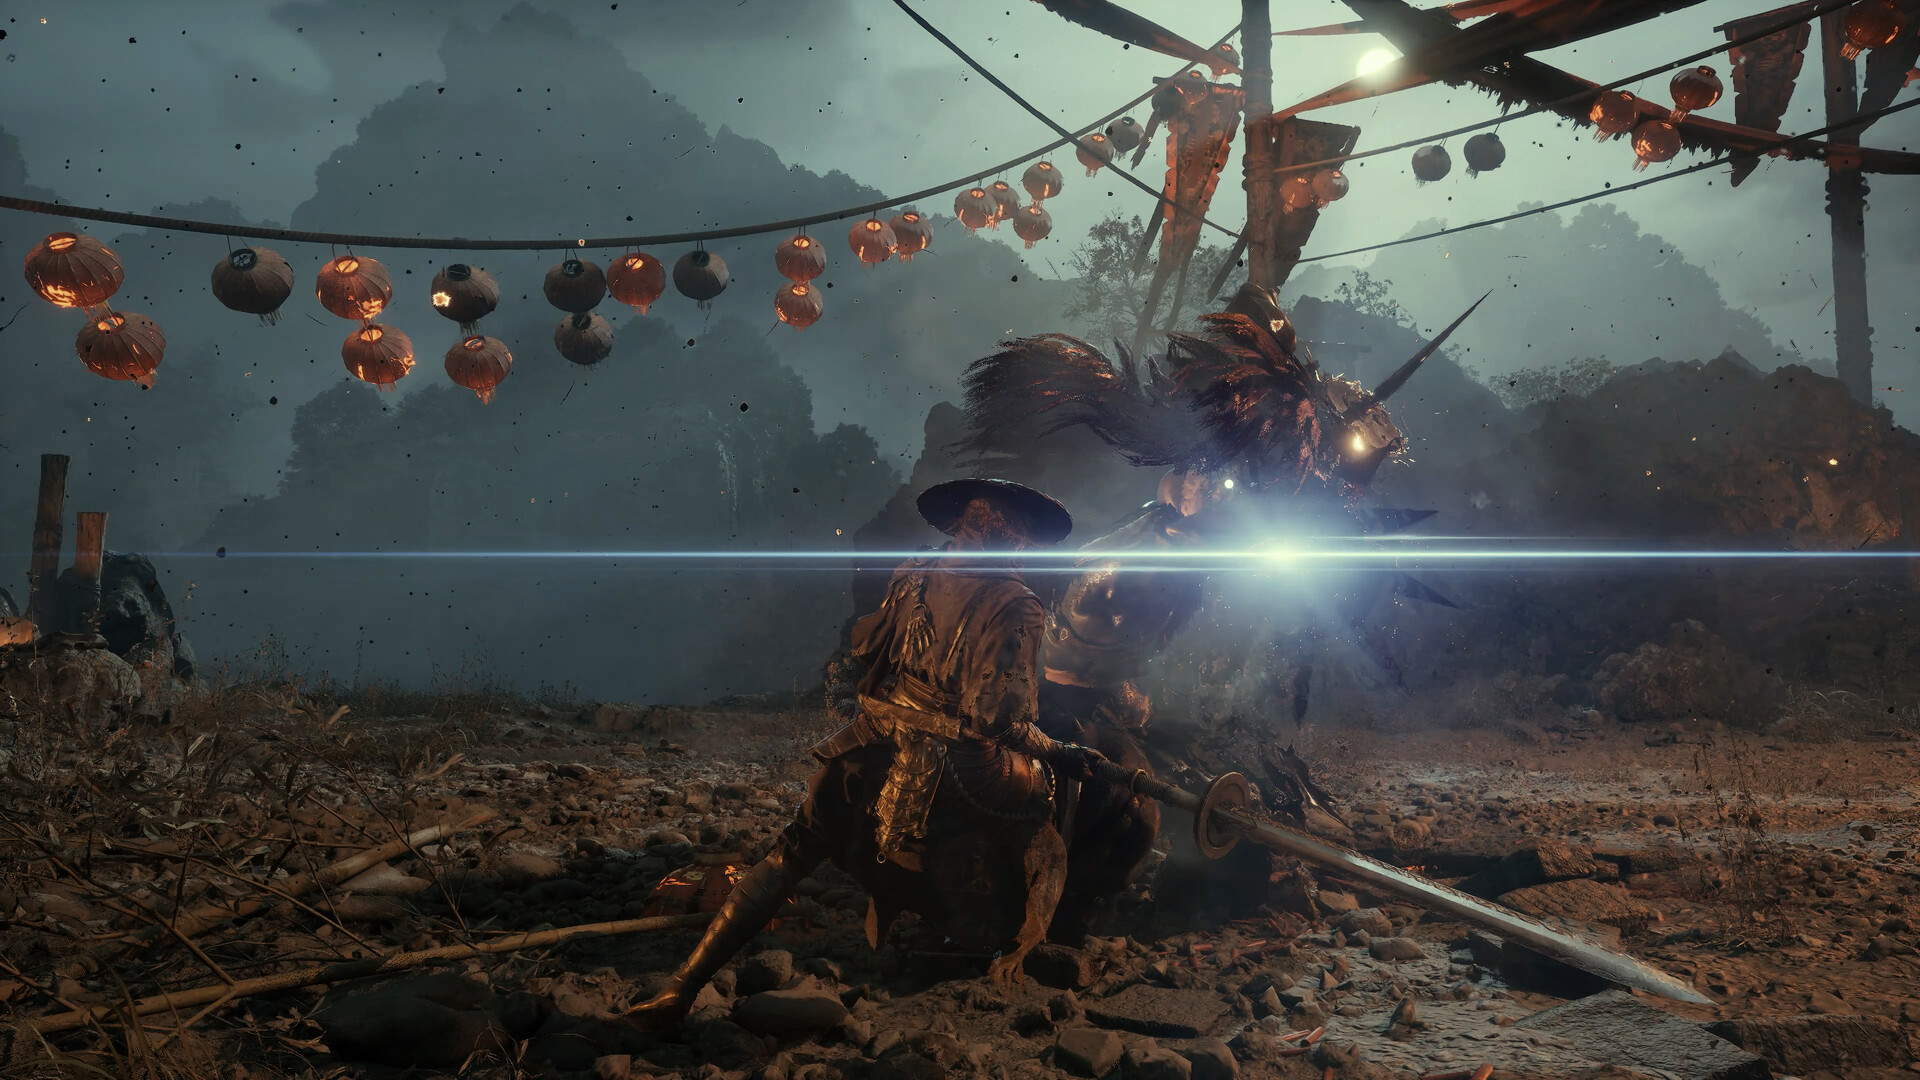
Bells are the only nodes in that network. Each one restores health, restocks your potions and serves as a save point, which makes "which bell am I closest to" a more useful question than "which direction am I facing". The map marks every bell you have touched automatically, so the real cost of exploring is not finding bells but working out which fork leads to the next one.
According to a Gamersky collection list, Weeping Creek holds 59 collectibles in total. That figure covers bells, weapons and Phantom Edges, trinkets and potions, sha-chi amber and black-stone fragments, memory flowers and side-quest items together. This guide does not re-list individual pickups; it deals only with the three categories that affect later progress: keys, shards, and the quests that expire.
The 21 bells and the order they come in
Counting from the QTE where you wake up, the region contains 21 bells. The names below are positional labels used by walkthroughs to keep you oriented, not in-game text.
| # | Bell | Rough location |
|---|---|---|
| 1 | Opening Ground | First tutorial bell, following the stream from the start |
| 2 | Cracked Buddha Statue | Down the ladder on the right fork, beside the split statue |
| 3 | First Meeting with Yuer | Up the ladder next to the cart wheel where Heishang Shuangren sits |
| 4 | Red-Thread Barrier | Small platform below and left of the huge red barrier |
| 5 | Puppet Valley Floor | Open ground near a house |
| 6 | Rusted Blade Pavilion | Right side of the Mad Brute Cangang's arena |
| 7 | Courtyard Before the Post Station | Past the chain swing and the second campfire |
| 8 | Post Station | A few steps past the blacksmith, the region's main hub |
| 9 | Where Axe Boss Fell | Centre of Peng Meng's arena |
| 10 | Where Axe Boss Was Held | North from the previous bell, after a cutscene |
| 11 | Creek Plain Entrance | Past the bridge and the barricade you smash open |
| 12 | Marauder Archer Camp | Top of the camp, beside a chest and a page pickup |
| 13 | Sha-Chi Tower, First Floor | Clear the half-circle platform, take the steps to the tower door |
| 14 | Sha-Chi Tower, Top | Up the tower's internal stairs |
| 15 | Waterfall Suspension Bridge | After the tower, before the great waterfall |
| 16 | Blood-Flesh Flower Field | Centre of the Bride Ahua arena |
| 17 | Great Waterfall | Waterfall entrance past the bridge, before Zhuiming |
| 18 | Sha-Chi Tower, Bottom | Furnace floor; the bell sits beside the furnace that holds Hunyuan Jingmai Yi |
| 19 | Red House | Down the lift, in front of the red house |
| 20 | Overlooking the Dragon Pillar | Red-lantern room; the chest holds the Rusted Dragon Key |
| 21 | Weeping Creek Dragon Pillar | Behind the chain you cut with the Juxiong Axe |
A few of these do more than save your game. Bell 8, the post station, is where the merchant, the blacksmith and most side-quest NPCs live, and nearly every conversation with Yuer advances there. Bells 13, 14 and 18 tie together the tower's first floor, top and bottom, and the tower also contains a locked door that can only be opened from the inside once you hold the furnace-peephole switch. Bell 21 is the entrance to the region's last optional boss.
Four keys: which door each one opens
The region has four keys. None of them is on the main path, none opens more than one door, and missing one simply means one door stays shut.
| Key | How to get it | What it opens | What is behind it |
|---|---|---|---|
| Cell Key | Big house between the courtyard bell and the post station; up the stairs on the right, on a corpse | Cell door in the cave mouth left of the post station entrance | Cell block with a chest inside |
| Tower-Base Camp Gate Key | After beating Zhuiming for the Zhuiming Chain-Scythe, return to the tower top and grapple to the pillar with the red glow | Camp gate beside the Creek Plain Entrance | Four branching paths leading to the tower base, the red-house lift and the Dragon Pillar |
| Furnace Peephole Switch | At the tower top, jump up from beside the friendly ghost officer, follow the route down the far side, climb the full ladder and kill the lone ghost officer | The key switch on the tower's first floor | Lets you pull the key out of the switch (you need it again later) and take Hunyuanshi from the adjacent furnace |
| Rusted Dragon Key | Chest beside the Overlooking the Dragon Pillar bell | Wooden door near the Ningzhi Leaf pickup | A short fight behind it |
There is one sequencing trap here. The camp gate key requires the Zhuiming Chain-Scythe, which drops from Zhuiming at the great waterfall near the end of the region. Everything past the Creek Plain Entrance — the four forks, the red house, the Dragon Pillar — is therefore "come back after the final boss" content by default, and there is no reason to force it on your first pass.
The furnace peephole switch deserves its own note, because it does not open a door. It releases a key. The key on the tower's first floor sits inside a switch, and while it is seated there the tower's inner door stays locked. Only with the switch in hand can you pull the key out, and at the same time take the trinket Hunyuan Jingmai Yi from the furnace beside it. That key is used once more later, so do not treat it as spent.
Two shard lines: four black-stone fragments and four sha-chi amber fragments
Upgrade materials in this region come in two parallel lines of four, each assembling automatically when complete.
Black-Stone Fragment 1 sits in the chest behind the cell door. Fragment 2 drops automatically after you clear every enemy deep in the Marauder Archer Camp, which also unlocks the Phantom Edge Duanxian de Yugong. Fragment 3 is at the tower base: lure a bomb enemy into blowing open the furnace's steel bars, climb the great gear, and kill the three bronze figures. Fragment 4 requires following the river up from the red-lantern house and grappling to the far platform, where a chest holds it. Four fragments make one black stone.
Sha-Chi Amber Fragment 1 is in the chest on the north side of the arena after you beat the thread puppet at the puppet valley floor. Fragment 2 drops from the double-scythe enemy hidden behind boxes above the pavilion in the middle section. Fragment 3 comes automatically after you smash the chain two guards watch over with the Juxiong Axe and clear the mutated swordsmen near the post station. Fragment 4 is inside the door opened by the Rusted Dragon Key, granted when the last enemy there falls. Four fragments make one sha-chi amber.
Eight pieces in total, none of them mandatory, all of them sitting on the region's main forks. If you want them in one pass, collect all four keys before clearing the side paths; both number-four shards sit behind a door or on a ledge you can only reach with the chain-scythe.
Seven boss fights: four you cannot skip, three you can
The region holds seven boss fights. Four are on the main path; three hide next to bells, and the red-house one is a double fight.
| Boss | Location | Reward | Required? |
|---|---|---|---|
| Mad Brute: Cangang | Main path past the puppet valley floor | Cangang Blade | Yes |
| Axe Boss: Peng Meng | Outside the post station's west door | Juxiong Axe | Yes |
| Bride Ahua | Blood-flesh flower field past the tower | Hongzhuang Guizhan | Yes |
| Hunter: Zhuiming | Great waterfall | Zhuiming Chain-Scythe | Yes |
| Three-Faced Strange Puppet (Sanmian) | Cracked Buddha Statue bell, enter through the split statue | Quest item Three-Headed Doll | No |
| Golden-Masked Man in Black (Master Ye) | Weeping Creek Dragon Pillar, examine the pillar | Counter Trinket | No |
| Living-Puppet Cleaner + Hansui, Dharma Extinguisher | Bottom of the red-house shaft, bell at the cleaner's pen | Superalloy Scythe Head, Crystal Puppet Eyeball (Yang), Fourth Disciple's Mask | No |
Among the four required fights, Cangang drops the weapon walkthroughs call the early-game easy mode: the Cangang Blade inflicts bleed and triggers a heavy haemorrhage once the meter fills, but it does nothing to puppets, golden bodies or phantoms, so it gets replaced later. There is a cheap way to fight him: hit him from behind while he is busy with the rank-and-file enemies and you skip half the fight.
Peng Meng can be blocked almost throughout; only his red-glow grab has to be dodged. The Juxiong Axe he drops has two uses nothing else covers — breaking shields and cutting chains — and both the Marauder Archer Camp route and the Dragon Pillar route depend on it, so this is not a fight to skip.
Bride Ahua's mechanics are all in the flowers. White flowers can be perfect-parried or simply dodged out of range, otherwise they set up her grab. Red flowers must not be touched: they drain health continuously and explode when they cluster. At close range she can throw out an extremely fast red-glow grab with a very short reaction window. On lower difficulties three white flowers are on the field; on the highest, five, and there you can perfect-parry at most three before you must dodge, because the grab hidden behind the flowers will not be avoidable otherwise. The fight is designed for close pressure — backing off makes it harder. If she keeps killing you, fetch Hunyuan Jingmai Yi from the tower base first; that trinket extends your dodge and parry windows.
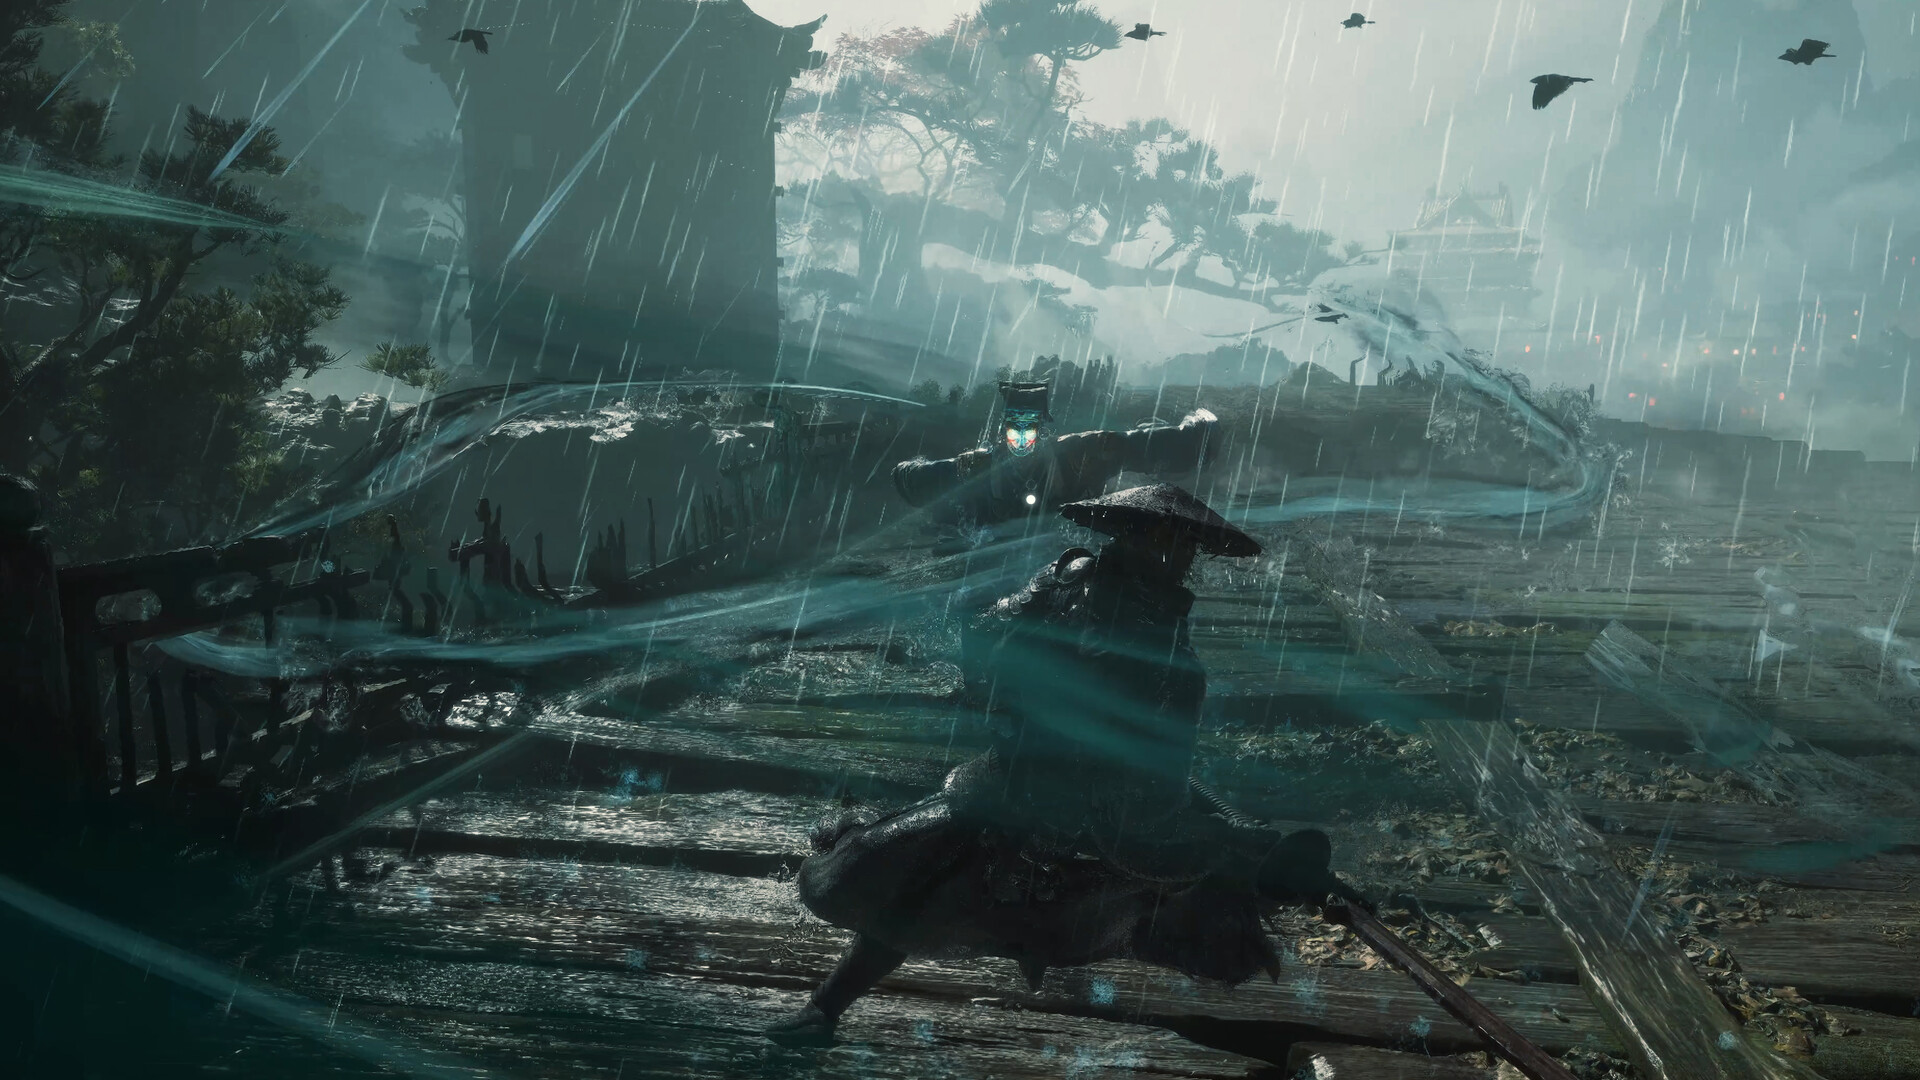
Zhuiming is the region's final boss and the first real test of "hold guard and wait for the light". He has two phases, and dying in the second lets you resume from the second rather than replaying the first. He opens with a five-hit chain combo whose last blow is blockable; a successful perfect parry shows a button prompt, and mashing it triggers Ghost Step, which is the single best opening you will get. He then briefly leaves the fight and returns from behind the cart with a blockable attack. Three things matter in the middle: the four blockable chain swings after he leaps, the short dash before he lands, and the tornadoes left on the water by his three-hit area sweep. His reach covers roughly half the arena, so the correct positioning is to stay close rather than back away. The first encounter with Zhuiming happens outside this region, and that one only requires you to cut his health to half.
The three optional fights each test a different skill. Sanmian at the Cracked Buddha Statue is a parry-and-weapon-swap exam: after he empties your sha-chi, swapping weapons once refills it, and below half health you only need to watch for the red glow. Early on your attack power is far too low — walkthroughs note that even a full combo on the lowest difficulty barely moves his health bar — so the common advice is to come back once your gear is up, and on the highest difficulty to come back in a later chapter. Master Ye at the Dragon Pillar is a counter-attack exam: hitting him head-on does nothing, and even your heaviest attacks do no damage while his sha-chi bar is unbroken, so you hold guard and wait for the flash — blue usually precedes his airborne slam, red usually comes while he is pressing you at close range. The red-house pair is a numbers exam: the Living-Puppet Cleaner has 155,200 health and a sha-chi bar of 37,240 on Pojuzhe difficulty or 18,620 on Ruzhenzhe, while Hansui has 62,080 and 9,310. Hansui joins mid-fight and the two attack together rather than taking turns, so keep both on screen.
The red-house drops are worth spelling out. The Superalloy Scythe Head feeds the soul-forging hunter's chain-scythe, the Crystal Puppet Eyeball (Yang) is required for Puppet No. 99, and the Fourth Disciple's Mask is the last piece of the mask set needed to assemble the mirror. Three items on three different collection lines, which is why this optional fight is hard to skip in practice.
Four quests that expire and one trinket with a narrower window
The thing to know before you leave is the timing. Four side quests fail permanently once the story moves on, and one trinket has an even tighter window.
| Content | Where to pick it up | When it fails |
|---|---|---|
| Side quest: Unspoken Trouble | Beside the post-station blacksmith; talk to the blacksmith, then approach the guard | If unfinished when you beat the main boss at the end of Crimson Forest |
| Side quest: Apprentice Physician | Ask Yuer about herb gathering at the post-station bell | If unfinished when you beat the outlaw Jing Ye |
| Side quest: Sealing Wedge | Tower top, talk to the friendly ghost officer | If left undone here and the story advances to the next chapter |
| Side quest: Cleaning House | Outside the Marauder Archer Camp, climb up and talk to the drinking old archer | If left undone here and the story advances to the next chapter |
| Trinket: Jinyan Bracer | After executing Peng Meng and reaching his holding site, return to the post station and talk to the frightened Zhen Dao disciple, then search the northernmost grave | If that conversation is still undone when you reach Lujia Village |
Apprentice Physician is the easiest to lose, because it sits off the main route and requires three gathering points: Ningzhi Leaf on the suspension bridge near the red-lantern house, Jinchuang Grass by the river before the Dragon Pillar, and Zhixue Vine at the bottom of the bridge. Hand all three to Yuer at the post station for the Xiangxun Medicine Box trinket, which also unlocks the healer's legacy.
Jinyan Bracer has the tightest window of the five, because it never appears in the quest log as a quest. It is the follow-up to one conversation. After executing Peng Meng and reaching the holding site, go back to the post station and talk to the frightened Zhen Dao disciple; he tells you where Peng Meng's three subordinates are buried, and only then can you search the northernmost grave. Reach Lujia Village without having had that conversation and it is gone until New Game Plus.
The chest across the broken bridge
Near the Creek Plain Entrance there is a broken bridge, and the ruined house on the cliff opposite has a chest visible through a hole in its wall. On the normal route that chest waits until you have the Hu Pao and can approach from the Dragon Pillar side, which makes it late-game content.
The bridge can be crossed backwards. The route walkthroughs give is to use the hang time of a dash plus the displacement on the one-handed sword's heavy attack: jump from slightly left of the bridge's centre, and do not press heavy attack the instant you leave the ground — fly for a moment first, then press, and you land at the lowest point of the opposite span. Past it you can collect a batch of late-game materials, including 16 Flawless Long-Plank Metal, Polished Long-Plank Metal and pigeon feed.
This is knowledge rather than a requirement. It changes no quest state and does not affect collection percentages; it only moves a pile of late-game resources into your hands early. Whether to use it depends on how badly you want a maxed weapon in the first chapter.
Weeping Creek's design intent is easy to read: it teaches every verb in the game once — chain swinging, wall climbing, ladder dropping, shield breaking, chain cutting, chain-scythe traversal, reading red and blue light — and only then lets you into Crimson Forest. The collectible density is therefore low, but each item maps onto an action you will use for the rest of the run.
What is worth remembering is not where any single item sits but the order: take the tools first, then come back for the doors. Both the chain-scythe and the Juxiong Axe sit on the main path, and once you hold them the doors and ledges you could only look at earlier open in a single pass. The south-western corner of the map is unreachable in this region and only opens up when you come back in a later chapter.