Trinkets in Phantom Blade Zero are the third layer of gear, separate from your weapons and from Phantom Edges. Each one does a single thing: it adds a percentage to a specific action, a specific enemy type, or a specific status. The numbers look small on their own, but you can wear several at once, and stacking a few that point at the same behaviour is where they start to matter.
GamerSky's trinket catalogue documents 66 of them page by page, each with its effect, its flavour text and its acquisition route. This article puts all 66 effects into one table, then pulls out the handful that can be lost permanently. Trinket names below are descriptive English labels for the Chinese names in the middle column; the English build's own strings are not published in the sources used here, so match against the in-game list by the Chinese name. That second part is worth reading first, because there is no recovery path once the condition has passed.
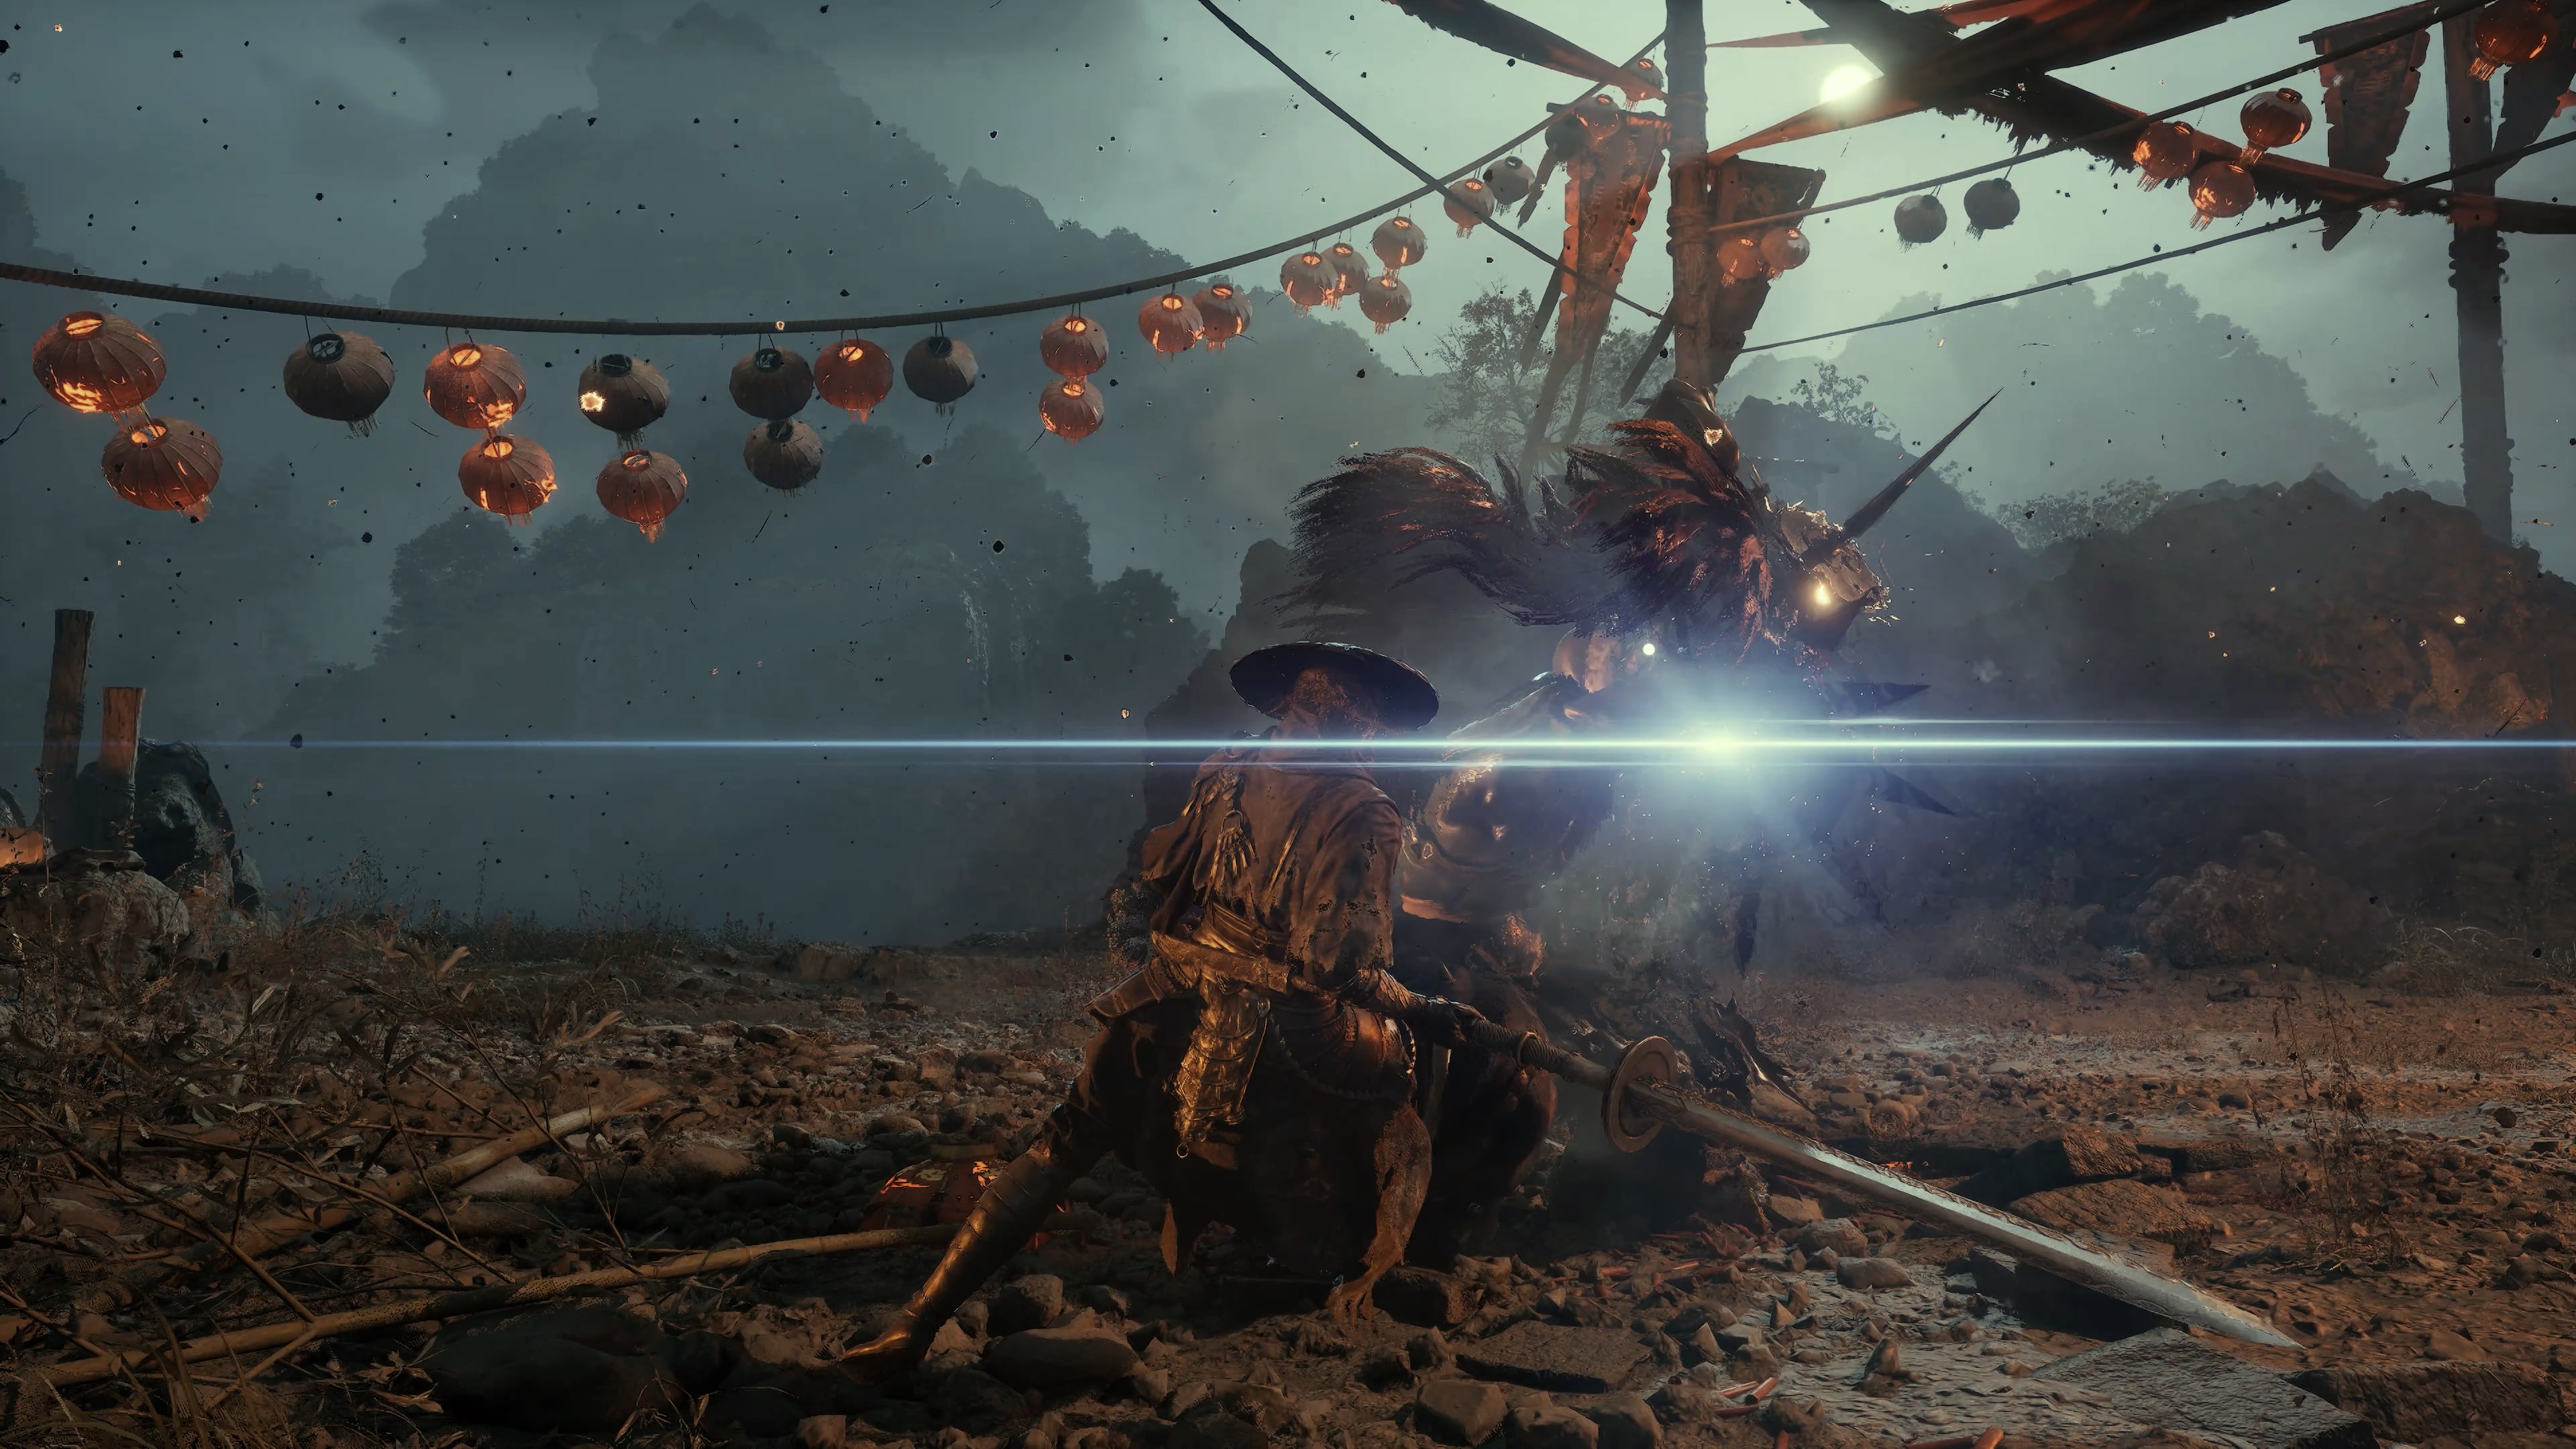
How trinkets work: several active at once, each effect isolated
A trinket is not a consumable and not a weapon affix. It sits in its own equipment slot, works while equipped and stops working when removed, with no level requirement and no upgrade tier attached. The catalogue's wording is remarkably consistent across all 66 entries: one line of effect, one paragraph of lore. The effects read like "damage to a type of enemy +X%", "damage taken from a type of damage -X%" or "cost of a resource -X%". One trinket moves one variable, and it does not hand you two benefits at once.
That makes the choice straightforward in principle. More damage means picking from the damage group; staying alive means damage reduction and healing; smoother combat means the Sha-Chi economy. The actual decision sits inside each group, because several entries target different conditions rather than different power levels. In the damage group alone you have +7% against enemies in an attack animation, +25% against cavalry, and up to +20% the lower your Sha-Chi runs. Those describe three different fights, not a ranking.
Acquisition splits into a few types: map chests, elite and boss drops, NPC quest rewards, fragment assembly, and merchant purchases. Quests and fragments are the two that cause trouble, because both are gated on prerequisites that stop existing once you move on.
The trinkets that can be lost permanently
The Rock-Solid Bracer is the only entry the catalogue flags with a standalone warning. Its effect is 15% less damage taken while you are not in a guard-broken state, which makes it a general-purpose defensive pick. The route spans two areas. On the single road into the Relay Station, look right for a frightened disciple, talk to him, beat the boss Axe Elder, then speak to the disciple a second time. Later, at the Axe Elder's holding area, take the small path beside the bell and interact with the graveyard at the end. The warning on that page is blunt: once you advance to Blood Forest, the trinket can no longer be obtained. The chain breaks at the area boundary.
The Twin-Fish Jade Pendant reads "the less Sha-Chi you have, the more damage you deal, up to +20%", which ties it directly to Sha-Chi-hungry builds. It comes off the Crimson Swordswoman in the Righteous Camp, and the route has a trap in it. Beat Hammerer Wanjun first, drop through the passage beside the Camp Gate bell, cross into the camp interior to the second enemy wave, then take the left slope to the tall tower and climb the ladder to trigger the fight. Do not fight her head-on. There is a chain on the right that lets you jump to the opposite platform, and it can be used mid-combat, so jump across and disengage. You then enter the fight against the Seven-Star Sword Formation senior brother, and in the second phase the Crimson Swordswoman joins in. Kill both, then pick the pendant off her body. Kill her on the first meeting and the trinket is gone.
The Arrow-Bane Charm, which cuts ranged damage and Sha-Chi reduction by 20%, sits behind the "Leave None Alive" quest. Near the Chapter 3 village entrance you meet the cart driver from the prologue again; accept the quest, teleport to the Bandit Camp in Blood Forest, beat the enemies in front of Tricky Zhang's platform for the Bandit's Manual, then descend from the Bandit Treasure Cellar to the courtyard at the bottom, pass through the stone arch into the tunnel, activate the Bandit Tunnel Entrance bell and hand the manual over. It is a quest line that walks you back two chapters, and doing it in place is cheaper than coming back for it.
The Ultimate Skill Charm, +20% ultimate damage against guard-broken enemies, comes from the "Do Not Forget" quest. Advance the main story to Plum Valley Lake, collect all three Phantom Pipa components, teleport to the Market bell, take the stairs down into the fog-blocked building on the left, clear the fog with the pipa, climb to the top floor and talk to the woman sitting on the bed. The quest then continues in Cage Mountain, where you must beat the boss Crossblade Bifeng. Start in one region, finish in another, with a whole area in between.
The Hundred-Face Nuo Mask, which cuts the Dark Source cost of Summon-type Phantom Edges by 1 and gives the summon a berserk state, needs three mask fragments, all in the Dream Play Manor. One starts from the Back Mountain bell along the only right-hand path to the wooden bridge, turning right twice into a house and out its left side to the end of the path. One goes out the main exit opposite the Theatre, up the stairs to the highest point and off the cliff onto a table. One starts from the Willow Wind Pavilion bell, descends through the left stone bridge to the bottom and picks up past a small door. With all three, teleport to the Nuo Mask Stage and talk to the beggar at the end of the area to assemble it.
The Moon-Thunder Lantern, whose lightning effect automatically strikes surrounding enemies, is exchanged with Tricky Zhang for the three Zhang treasures hidden in the Dream Play Manor, the same "three pieces scattered across one region" shape as the mask. The Idol of Might follows the same pattern in the Righteous Camp with fragments for the head and arm, and the Food Preserving Jar needs two Food Charm Fragments, one past the Outlaw Trap junction in Blood Forest after beating the mounted enemy and turning right, the other on the opposite side.
All 66 trinkets and their effects
| Trinket | Chinese name | Effect |
|---|---|---|
| Shadow-Hunt Instrument | 影动猎杀仪 | +7% damage and Sha-Chi reduction against enemies in an attack animation |
| Sinew Strap | 筋力绑带 | +5% damage to enemies |
| Kill Order | 追杀令 | +7% damage to guard-broken enemies |
| Artisan's Grip | 妙手在握 | +10% damage with one-handed main weapons |
| Artisan's Chain | 妙手连环 | +10% damage with dual-wielded main weapons |
| Artisan's Balance | 妙手千均 | +18% damage with two-handed main weapons |
| Cavalry Breaker | 斩骑符 | +25% damage to cavalry enemies |
| Shield Breaker | 破盾符 | +50% shield durability damage, -30% damage taken from spiked shields |
| White Mountain Writ | 白山密令 | +5% Sha-Chi reduction against enemies |
| Lonely Seal | 独孤绝印 | +8% Sha-Chi reduction on Sha-Chi combos |
| Azure Blood | 碧血云天 | After more than two hits within one second, +15% damage for 2 seconds, 5-second cooldown |
| Dance Fan | 舞扇 | Damage scales with the distance moved during the attack, up to +40% |
| Twin-Fish Jade Pendant | 同心双鱼佩 | The less Sha-Chi you have, the more damage you deal, up to +20% |
| Broken Vessel | 残破容器 | +15% damage when a Sha-Chi combo spends Sha-Chi |
| Deadeye | 神射之眼 | +15% damage to enemies beyond a set distance; the lock-on dot flashes red when active |
| Last Stand Token | 绝地求生令 | The lower your health, the more damage you deal, up to +25% |
| Counter Bracer | 反击护腕 | +20% damage for 2 seconds after a perfect block |
| Despair Charm | 绝望护符 | Next attack gains damage over time up to +25% after 4 seconds, reset on hit |
| Ultimate Skill Charm | 绝技护符 | +20% ultimate damage against guard-broken enemies |
| Snow and Blood | 雪与血 | +10% damage while a bleeding enemy is nearby; +20% bleed damage to enemies in an attack animation |
| Myriad Kill Lock | 万杀巧锁 | +5% health threshold for executing guard-broken enemies, +5% damage after an execution, 2 stacks of 10 seconds |
| Idol of Might | 力士神像 | Destroy-type Phantom Edges cost 1 extra Dark Source, +75% damage |
| Dark Source Cube | 暗源方块 | +12% damage from all Phantom Edges |
| Thread Ball | 细线球 | +50% damage and Sha-Chi reduction from summons |
| Ancient Armour Fragment | 古甲残片 | Damage reduction scales with health, 20% at full health |
| Rock-Solid Bracer | 坚岩护腕 | -15% damage taken while not guard-broken |
| Mother's Charm | 慈母护符 | Recover 10% of health when guard-broken |
| Arrow-Bane Charm | 避箭护符 | -20% ranged damage taken and Sha-Chi reduction |
| Fire Ward | 辟火符 | -40% fire damage taken |
| Lightning Ward | 避雷符 | -30% lightning damage taken, -30% paralysis buildup |
| Frost Ward | 防冰符 | -50% chill effect taken, -50% freeze duration |
| Bloodclot Talisman | 凝血符 | -30% bleed duration on yourself, -30% heavy bleeding buildup |
| Food Preserving Jar | 食物防腐罐 | -30% poison damage taken |
| Hundred-Battle Demon Body | 百战魔躯 | After 10 seconds without taking damage, immune to the next hit |
| Incense Medicine Box | 香薰药盒 | +20% healing from medicine bottles |
| Deep-House Medicine Pot | 深宅药罐 | 15% chance to consume no charge when drinking |
| Calming Gourd | 静心小葫芦 | Drinking clears the guard-broken state and costs no Sha-Chi for 3 seconds |
| Consecrated Jade | 开光玉佩 | Grants one random buff after drinking |
| Curio Weave | 珍玩妖织 | +10% health |
| String Note Charm | 弦音护符 | +15% Sha-Chi |
| Sha-Chi Headband | 杀气头巾 | +15% Sha-Chi recovery speed |
| Ring of the Nameless Master | 无名大师的扳指 | +15% refined Sha-Chi accumulation |
| Rouge Box | 胭脂盒 | -50% wait time between spending Sha-Chi and recovery starting |
| Righteous Air | 正气凌然 | -15% Sha-Chi cost on Sha-Chi combos |
| Divine Machine Ring | 神机指环 | -20% Sha-Chi cost when blocking with the guard key held |
| Mechanism Heart Mirror | 机簧护心镜 | -20% passive Sha-Chi drain while holding the stance key |
| Agarwood Rosary | 沉香念珠 | +15% Sha-Chi recovery while guard-broken |
| Meridian Instrument | 浑源经脉仪 | +15% perfect-block and perfect-dodge timing window |
| Hushed Strap | 屏息绑带 | -40% sound from footsteps and assassinations |
| Yingmei Mask | 影魅面具 | Perfect block or perfect dodge triggering Ghost Step spawns 3 masks that attack nearby enemies |
| Wondrous Scabbard | 神奇刀鞘 | Switching main weapons grants hyper armour and 25% damage reduction for 2 seconds |
| Executioner's Headband | 刽子手头巾 | -1 second main-weapon switch cooldown after an execution |
| Venom Pouch | 猛毒袋 | All main weapon attacks have a 15% chance to poison |
| Lion Fireball | 瑞狮火球 | +20% fire damage, ignition spreads to nearby enemies |
| Fan Feather | 羽扇残羽 | +20% frost, fire and lightning damage |
| Dharma Ice Shard | 灭法冰棱 | +30% chill effect and duration |
| Moon-Thunder Lantern | 月雷华灯 | Lightning effects automatically strike nearby enemies |
| Living Wood Talisman | 活木符 | Bleed and lifesteal work at 50% effectiveness on puppets, golden bodies and phantoms |
| Dharma Whisk Thread | 灭法拂尘丝 | Elemental effects build energy that restores 1 Dark Source when full |
| Chaos Frenzy Ring | 混沌狂戒 | Chaos flame's Sha-Chi burn restores 50% of the enemy's Sha-Chi loss to you |
| Formless Mirror | 无相神镜 | Any Y attack builds temporary Dark Source, consumed first by Ranged Phantom Edges |
| Rough Ember Heart | 粗糙煌心 | Any Sha-Chi attack builds temporary Dark Source, consumed first by Martial Arts Phantom Edges |
| Dark Source Cage | 暗源小笼 | 33% chance to restore 1 Dark Source when a Phantom Edge follow-up triggers |
| Puppet Woodheart | 人偶木心 | +25% summon duration |
| Hundred-Face Nuo Mask | 百相傩面 | Summon Phantom Edges cost 1 less Dark Source, summons gain berserk with a small damage boost |
| Treasure Basin | 聚宝盆 | +10% Consciousness Dust drops |
Read the table with one rule in mind: every percentage is attached to a condition. A +20% is not the same +20% across rows. Dance Fan pays for damage with the distance your attack animation covers, Snow and Blood needs a bleeding enemy standing nearby, and Fan Feather only counts frost, fire and lightning. Check the condition before you check the number.
The other thing worth confirming yourself is overlap. Several entries touch Sha-Chi combos from different angles: Righteous Air cuts the cost, Lonely Seal adds Sha-Chi reduction, Broken Vessel adds damage when the combo spends Sha-Chi. They work on different parts of the same loop and can be worn together. The opposite case is any entry locked to a weapon type: those are mutually exclusive, so the choice follows what is actually in your hands.
What the five groups of numbers actually solve
Damage is the largest group and the easiest to misread. Beyond the unconditional Sinew Strap at +5% and the Shadow-Hunt Instrument at +7% against attacking enemies, every entry carries a condition. Kill Order wants guard-broken enemies, Cavalry Breaker only counts cavalry, Shield Breaker attacks shield durability, Deadeye needs distance, and Counter Bracer lives inside a 2-second window after a perfect block. The real value depends on whether your approach triggers that condition reliably, not on the headline percentage.
Survival splits into mitigation, healing and status resistance. Ancient Armour Fragment scales mitigation with health and reaches 20% at full health; Rock-Solid Bracer is a flat 15% while you are not guard-broken; Hundred-Battle Demon Body trades 10 seconds without damage for one fully negated hit. Healing has exactly one entry, Mother's Charm, which pays 10% when you are guard-broken. Status resistance is a five-piece set: Fire Ward, Lightning Ward, Frost Ward, Bloodclot Talisman and Food Preserving Jar, covering fire, lightning, frost, bleed and poison. Swapping one in before a boss that leans on a single damage type is the most direct use of the whole system.
The Sha-Chi economy deserves separate attention because Sha-Chi is both an offensive and a defensive resource. String Note Charm raises the pool by 15%, Sha-Chi Headband raises recovery by 15%, Ring of the Nameless Master raises refined accumulation by 15%, and Rouge Box halves the wait between spending and recovering. On the defensive side, Divine Machine Ring cuts the cost of blocking by 20% and Mechanism Heart Mirror cuts passive drain while holding a stance, while Agarwood Rosary raises recovery by 15% precisely when you are guard-broken, so being pressured makes the resource come back faster.
Elements and status effects form their own branch. Venom Pouch gives every main weapon attack a 15% poison chance, Lion Fireball adds 20% fire damage and spreads ignition, Dharma Ice Shard extends chill, Fan Feather covers three elements at once, and Moon-Thunder Lantern turns a lightning proc into an area effect. Living Wood Talisman is the outlier of the group: it adds no damage at all, and instead makes bleed and lifesteal work at 50% effectiveness against puppets, golden bodies and phantoms, which is the fix for status builds that stop functioning against those enemy types.
Phantom Edges and summons revolve around Dark Source. Dark Source Cube gives every Phantom Edge 12% more damage, Idol of Might gives Destroy-type 75% more for one extra Dark Source, Formless Mirror and Rough Ember Heart build temporary Dark Source from Y attacks and Sha-Chi attacks respectively and let Ranged and Martial Arts edges spend it first, Dark Source Cage returns 1 on a 33% roll when a follow-up lands, and Dharma Whisk Thread returns 1 when elemental energy fills. Puppet Woodheart, Thread Ball and Hundred-Face Nuo Mask only serve summons: 25% longer duration, 50% more damage and Sha-Chi reduction, and a lower cost with berserk.
Picking them up region by region
Trinket placement follows the main story closely, so the cheapest approach is to clear each region while you are in it rather than planning a cleanup pass at the end.
Chapter 1, Weeping Creek Valley, holds the Shadow-Hunt Instrument at the Origin Point along the wooden scaffold where you grab the chain to jump platforms, the Sinew Strap past the First Meeting with Yu'er bell across the wooden bridge, the Kill Order in the Deadeye Archer Camp chest up the left slope from the Valley Plain Entrance, the Ancient Armour Fragment in the cave past the camp gate where you lure a self-destructing enemy into the red cage, and the Meridian Instrument at the bottom of the Sha-Chi Tower beside the bell switch. Two more come off the Gold-Masked Man in Black, at the Weeping Creek Dragon Pillar for the Counter Bracer and the Mirror Forest Dragon Pillar for the Wondrous Scabbard.
Blood Forest has the highest density. Shield Breaker sits past the Abandoned Highway pit, up a ladder and in a chest. Cavalry Breaker and Artisan's Grip belong to the Hanging Cage Path line where you free Tricky Zhang. Food Preserving Jar starts at the Outlaw Trap junction, Hushed Strap sits on the other side of the same junction behind a book that opens "Thieves' Honour", Calming Gourd comes from Yu'er's quest, String Note Charm drops from the chapter boss White Crimson Lotus, and Lonely Seal is around the wooden bridge after the Outlaw Jingye fight.
Chapter 3, Lu Family Village, is where quests cluster: Mother's Charm in the courtyard at the end of the alley beside the Three Puppets Well, Arrow-Bane Charm and Divine Machine Ring from the cart driver's quest, Mechanism Heart Mirror after the gatekeeper drops the Clumsy Wall Shield and you reach the Bandit Camp dungeon, Puppet Woodheart from the poetry-reading puppet woman at the Blue Fire Temple, Curio Weave from Zhenyao past the Awakening Ground bridge, Thread Ball on the one-way path to Uncle Lu Wu after the South Gate Bridge, and Azure Blood from the Lan Family Son quest.
Almost every Pandemonium Town trinket is tied to a side story. Fire Ward is the chest in the building behind the open plaza off the South Gate Bridge, Deep-House Medicine Pot comes from the Yellow House key handed out by the innkeeper at Phantom Ghost Tavern, Bloodclot Talisman is up the left stairs after the Fallen General Wuxuan fight at the Back Street Archway, Lightning Ward is in the ground-floor chest of the building behind the Green Snake House, Consecrated Jade is past the stone bridge into the firecracker street, Dance Fan is the Prima Donna quest, Formless Mirror needs the Flame Lion Head to burn vines at the Misty Pond, Lion Fireball starts from the tavern conversation about the Phantom Pipa and the Lord's Seal site, Hundred-Battle Demon Body is the cliff chest above the docks, Rouge Box combines the Reunion quest with two Memory Flowers, and Dark Source Cube is the fisherman's quest.
Plum Valley Lake is dock country: Deadeye after the One-Eyed Archer fight on One-Eyed Isle, Venom Pouch in the golden light at the centre of the monster pile at the Lake Banyan Dock, Treasure Basin in the right-hand house at the White Snake House dock, Myriad Kill Lock behind the scarecrow boss at the East Isle dock where you burn vines with the Flame Lion Head and feed in the Food Preserving Jar, and Dharma Whisk Thread plus Dharma Ice Shard around the third and fourth Illusionist Ruins bells in the frozen lake's inner martial world.
The Righteous Camp and Cage Mountain sit next to each other: Idol of Might from three fragments starting at the Sunset Path, Twin-Fish Jade Pendant off the Crimson Swordswoman, Sha-Chi Headband from the Little Xue quest, White Mountain Writ from the fallen NPC on the Pilgrim's Road, Snow and Blood from two NPCs after Crossblade Bifeng, Last Stand Token from the right-hand house after the Jade-Faced Lord at the Holy Mother Shrine, Despair Charm from the caged NPC at the Iron Kill Camp, Rough Ember Heart from the cross-chapter Little Cui quest, and Ultimate Skill Charm from "Do Not Forget".
Dream Play Manor is the last stop. Fan Feather is behind the first red door: right at the first courtyard, into the second, down through the gate to the bottom, then down the right-hand tower after the cutscene and into the lowest house. Executioner's Headband goes through the main gate, right at the junction and down the right passage into the cave. Yingmei Mask comes from the Crimson Shadow Bone Force Prison Edge fight in the mourning hall after the shadow puppet show. Hundred-Face Nuo Mask is the three-fragment assembly, and Moon-Thunder Lantern is the three Zhang treasures.
FAQ
Can a missed trinket be recovered? It depends on the type. Chests, elites and boss drops can be picked up later as long as the map is still reachable. Quest rewards and cross-region triggers cannot. The Rock-Solid Bracer is the one entry the catalogue marks outright as unobtainable after Blood Forest, and the Twin-Fish Jade Pendant depends on whether the Crimson Swordswoman survived your first meeting. A second playthrough resets the maps while trinkets carry over, so what is actually lost is the quest condition, not the item slot.
Can several trinkets be active at once? Yes, and each is calculated independently. The judgement call is about conflicting conditions: one trinket that wants full health and another that wants low health will cancel each other out.
Do trinkets conflict with Phantom Edges? No. Phantom Edges are the moves; trinkets are the modifier layer around them. Dark Source Cube, Idol of Might, Formless Mirror and Rough Ember Heart exist specifically to boost them.