Phantom Blade Zero has more than thirty primary weapons and four difficulty tiers, but what decides an individual fight is something more basic: how the meters work, how an enemy's attack signals read, and what the correct answer pays out when you give it on time. That defense-and-punishment loop has now been tested repeatedly by press at Tokyo Game Show and at offline playtest events, and S-GAME's August 2026 State of Play added the weapon and progression rules that wrap around it. The game launches on October 29, 2026 for PS5 and PC (Steam and the Epic Games Store; October 28 in the US and select regions). Understanding the loop before launch is the cheapest way to save lives on day one, because this game charges for every wrong read.
The three meters: health, Sha-Chi, and the ultimate gauge
The HUD asks you to track three things at once. A widely shared frame-by-frame breakdown of the playtest build, published by Gamersky, names them the white bar, the yellow bar, and the ultimate gauge.
- Health (the white bar). It empties, someone dies. Both you and everything fighting you have one, and nothing in the system protects it for free.
- Sha-Chi (the yellow bar). This is the game's core resource and it does triple duty. Heavy attacks consume Sha-Chi, holding the block button drains it continuously, and reactive moves like Perfect Defense depend on having some in the tank. Light attacks and dodges are free. When a combatant's Sha-Chi hits zero — yours or an enemy's — they are breached: defense is gone, special moves are gone, hitstun gets longer, and incoming damage hits harder until the bar recovers.
- The ultimate gauge. Shown next to the weapon icon in the bottom right. Fill it and a blue orb appears; spending an orb lets you unleash an ultimate attack. The playtest build capped this at one orb, with the cap rising to three or more as the campaign unlocks more.
IGN's Tokyo Game Show preview describes the same system from the player's side of the fence: every combatant carries health plus a Sha-Chi meter that mixes stamina, skill, power, and special-attack energy, but the game never locks you out of defending yourself the way a strict stamina system would — basic attacks and dodges always remain available. IGN hands-on
The consequence of this design is worth stating plainly: Sha-Chi is both a second health bar and an ammo pool. Where you spend it, how you save it, and when you take it away from the enemy are the rhythm of every fight in Phantom Blade Zero.
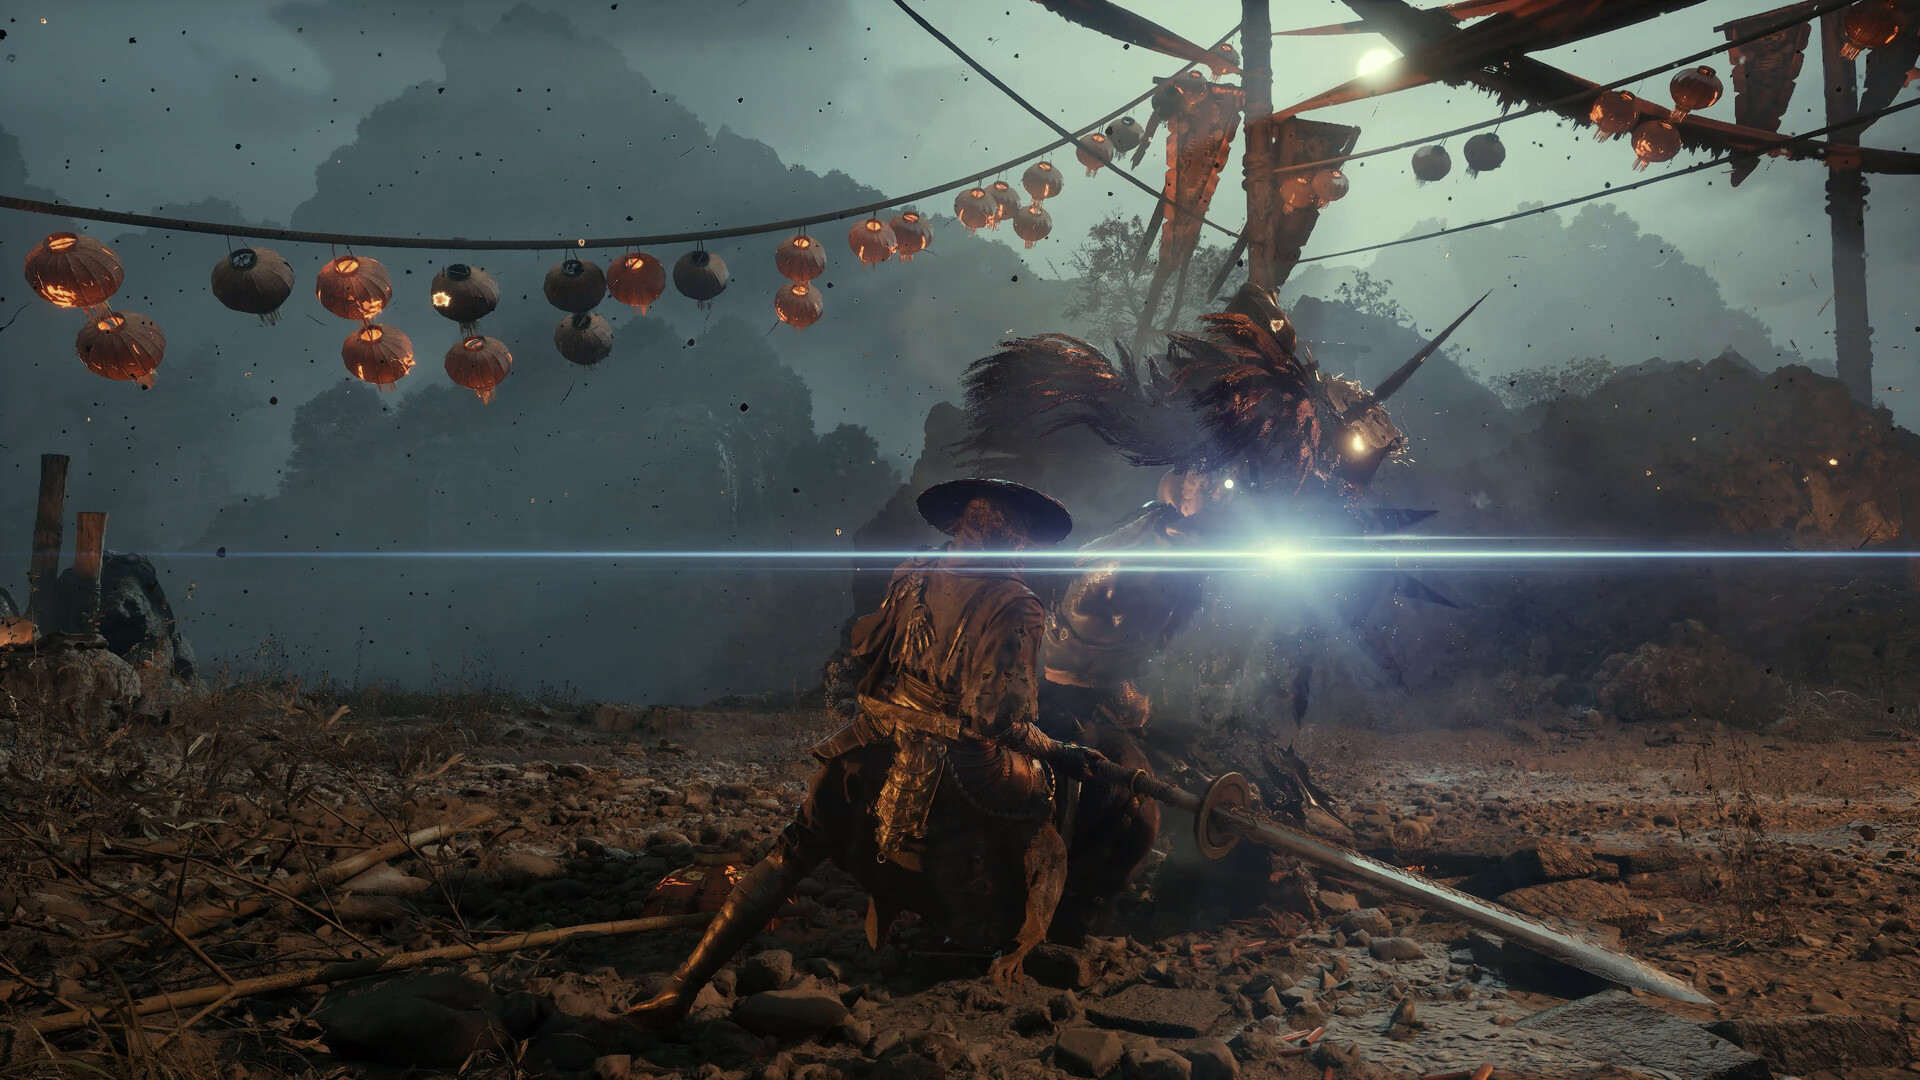
A blade clash from official press materials for Phantom Blade Zero: the moment two weapons meet is where the game's exchanges are decided. Image source: official Steam store page; © S-GAME.
Two signals: blue means parry, red means dodge
Enemy attacks announce their correct answer with a glow. This is the most stable rule to come out of the playtests and the community's frame analysis of them.
Blue-glow attacks are Sha-Chi attacks — heavy attacks. They can be blocked, but eating one with a plain hold-block costs you a serious chunk of your own Sha-Chi. The intended answer is the Perfect Defense: tap the guard button right as the hit lands. A successful Perfect Defense throws off a bright spark effect, costs you nothing, and chips the attacker's Sha-Chi. Against a blue attack specifically, the payoff scales up — the Gamersky breakdown records that a Perfect Defense against a blue attack cuts a large amount of the enemy's Sha-Chi, restores your own, and automatically triggers a Ghost Step that carries you into range for a counter-combo.
Red-glow attacks are ultimates. They hit extremely hard and cannot be blocked at all; dodging is the only answer. A perfect dodge on a red attack produces one of two outcomes. Some enemies' red attacks come with a special animation sequence, and answering them perfectly turns the tables with a hit of damage on the enemy — RPG Site's playtest includes an enemy lobbing a stick of TNT that, perfectly dodged, gets thrown straight back. Red attacks without a special animation instead trigger a Ghost Step on the dodge, snapping you to the enemy's side for the punish. RPG Site preview
Two details are easy to miss. First, the signal language runs both ways: Soul's own heavy attacks glow blue and his ultimates glow red, which means enemies are reading you exactly the way you are reading them. Second, ordinary mooks use the same blue and red signals — the signal system is not a boss exclusive. And note the one hard limit on your own ultimates: once the animation starts, it cannot be canceled with block or dodge; the only way to cut it short is the weapon-switch move, covered below.
Perfect Defense and Ghost Step: one read, three rewards
Put the two signal rules together and Perfect Defense is the hinge the whole system turns on. One correctly timed guard does three things at once: it negates the hit without spending your Sha-Chi, it drains the attacker's bar, and through Ghost Step it hands the initiative back to you. Holding block forever, by contrast, is a stalling tactic — it stops the damage but bleeds your own bar, and every second you hold it you move closer to being breached yourself.
Ghost Step deserves its own explanation, because it is not a button you press. It is a triggered movement: after a correct answer (a Perfect Defense on blue, a perfect dodge on red) your character relocates near-instantly, closing or creating distance, already positioned for the counterattack. IGN describes it as "a really slick-looking teleport dodge that leads directly into a counterattack," and their reviewer leaned on chained Ghost Steps to survive a cliffside ambush where a spearman and the friends he called over took turns attacking while archers provided covering fire. The system pays for correct reads with positioning, not just safety.
The perfect dodge's reward can also be the most theatrical: the flashiest perfect dodge in any of the hands-on previews happens in the Seven-Star Sword Formation fight, broken down in the case study below.
Breach and finishers: converting advantage into an ending
The end state the whole loop drives toward is an empty enemy Sha-Chi bar. A breach is the highest-value damage window in the game, and two roads lead there: grind the bar down with light attacks and combos, since every enemy block costs them Sha-Chi even when it saves their health, or take the fast route and peel it off with Perfect Defenses and blue-attack counters. The first is safer, the second is quicker, and both run on the same reading skill.
Low health creates a second finishable state. Finishers are the game's cinematic way of closing a fight: on a weakened or breached enemy they trigger a florid kill animation that ends it on the spot. IGN's summary — "as the enemy's health and Sha-Chi drops, I'm able to execute finishers, aka dazzling flourishes that eliminate enemies in brutal and bloody ways" — undersells the practical value. In crowd fights, converting one enemy into a corpse immediately is worth more than perfect play against five: every fighter you remove is one more set of signals you no longer have to read.
The breach window also rewards bringing the right tool. IGN's default long sword, Sanguine, can launch a rapid succession of tumbling attacks that shreds a breached enemy in one go — the kind of move that turns a hard-won bar break into a finished fight before the window closes.
When Sha-Chi runs dry: the weapon-swap refill
The system ships with one officially designed relief valve: switching between your two equipped primary weapons refills your Sha-Chi instantly. The catch is a cooldown, and the cooldown is not flat — it scales with how little Sha-Chi you have left. The closer to empty you are, the longer the swap takes to come back around. In other words, the valve rewards rotating early, not panicking at zero.
RPG Site verified the same mechanic from the other direction during their playtest: stamina spent on heavy attacks comes right back with a weapon swap, complete with a small flourish animation, but the swap sits on a cooldown so it cannot be spammed. Read together, the two primary slots stop being "two combo sets" and become a Sha-Chi circulation system: run the first blade dry, swap to the second, and by the time that one runs low the first swap's cooldown has turned over. A player who rotates on schedule fights the entire encounter with a full resource bar; a player who forgets to rotate fights the last third of it breached and desperate.
The switch has one more exclusive job: it is the only way to cancel your own ultimate's animation. Ultimates hit hard but commit you completely, and against quick enemies the weapon-switch finish is how you avoid paying for the flourish with a counter to the face.
The demo build also shows how individual weapons bend the loop around themselves. Seamless Death, a pair of chakram-like blades, fights up close in fast combinations or throws out for solid ranged damage; Jagged Edge, the enormous greatsword, is a pure heavy-commitment play. Same loop, different engines: the meters and signals stay constant, but each weapon changes the rate at which you spend and recover.
Case study: the Seven-Star Sword Formation
One fight from the pre-release demonstrations ties every rule above together, and it is worth walking through because it shows how the system scales past a duel. The Chief Disciple of the Seven Stars does not fight alone: six swordsmen stand with him, each with a full health bar, and the group fluidly switches between fighting as individuals and attacking as one unit. Their signature coordinated thrust comes from all directions at once — the correct answer is a perfect dodge, and answering it cleanly drops Soul onto the combined tips of their blades, untouched.
The fight's real lesson is resource warfare. Every time you chip the Chief Disciple down, his followers heal him by sacrificing their own health; as their numbers thin, he starts paying his own health to keep at least three disciples at his side at all times. The fight is no longer about one bar — it is about cutting the supply lines that keep that bar full. And it escalates: with his following thinned to three, the fight rebuilds into a second phase, the boss returned as a marionette suspended and steered on red threads by the three surviving disciples, who had climbed onto platforms, for a one-on-one with new attack patterns. Every mechanic in this article — signals, meters, breach, the punish window — appears in that single encounter, which is exactly why it works as the demo's final exam.
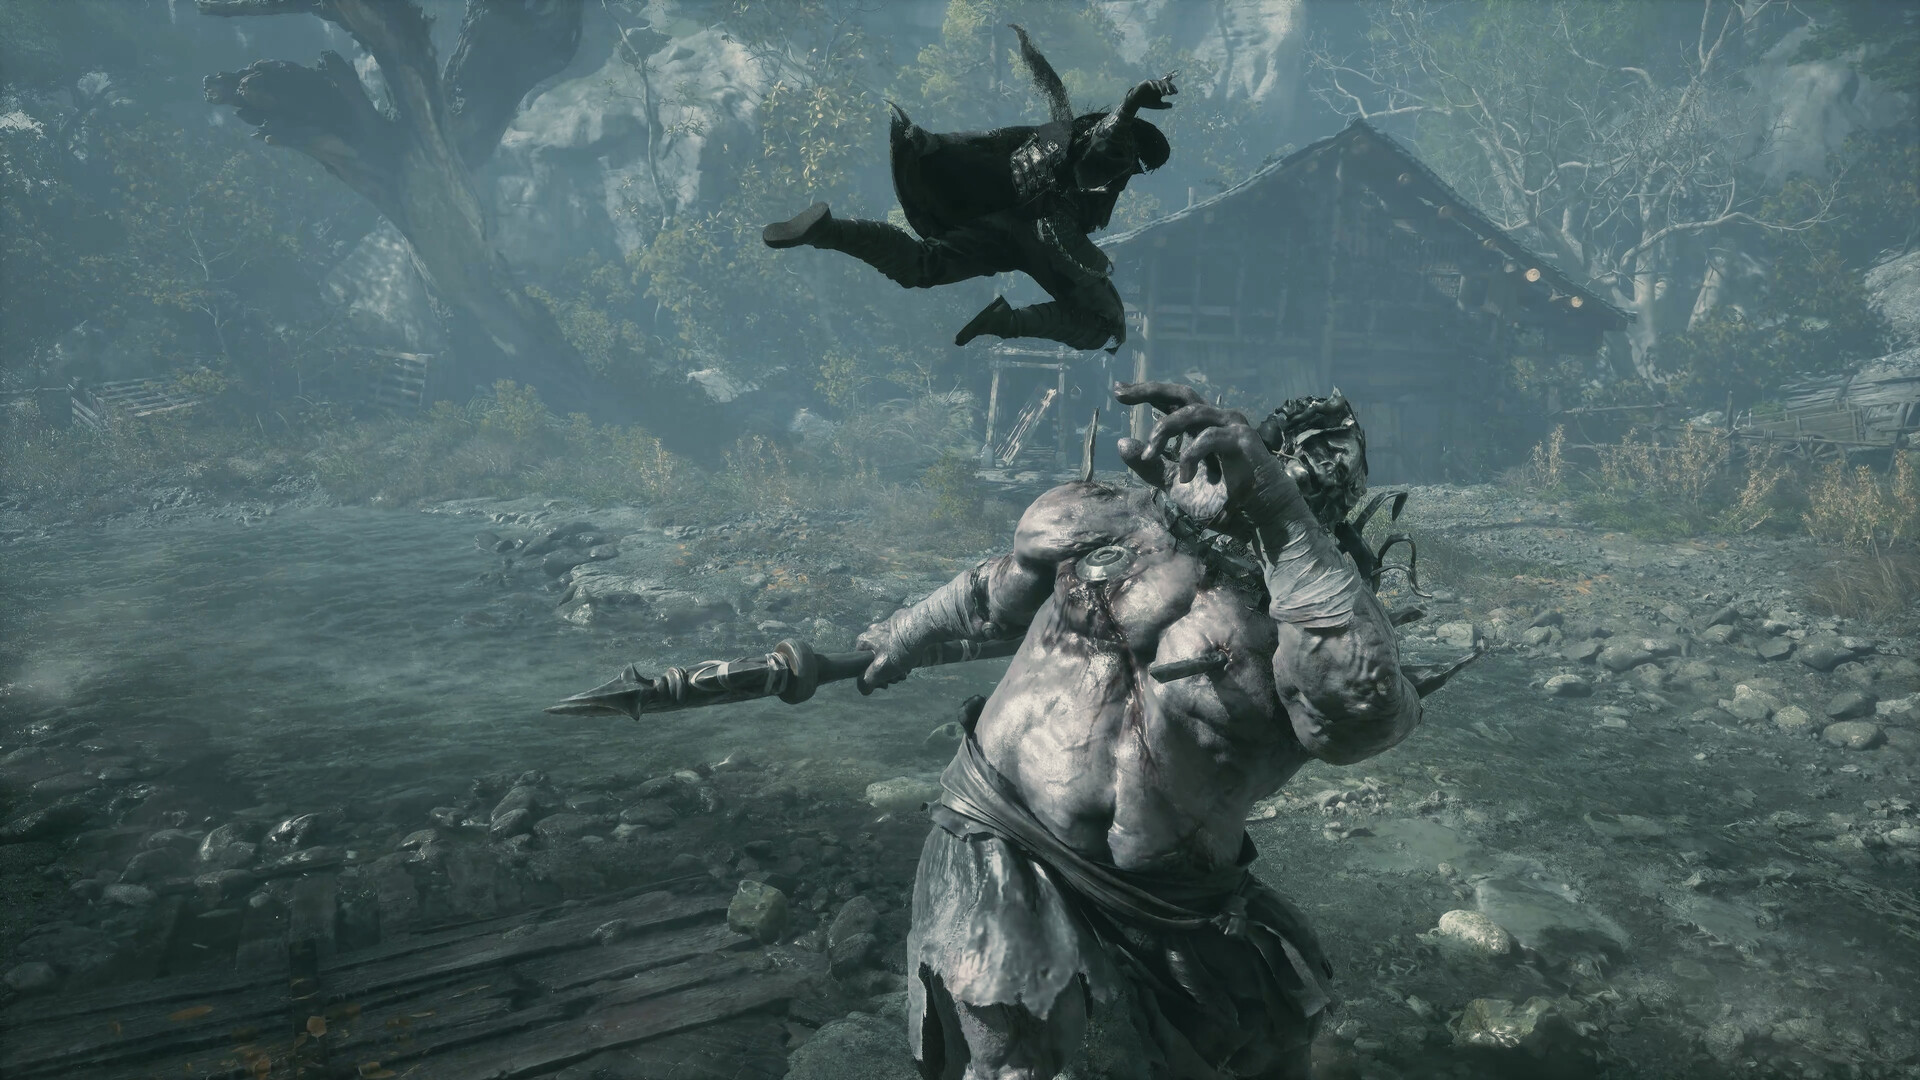
An official screenshot from Phantom Blade Zero's press materials: Soul airborne, midway through an aerial attack on a massive enemy. Image source: official Steam store page; © S-GAME.
Openers, crowds, and bosses
Crowd-fight priorities
The three meters and two signals are already busy in a duel; group fights are what they were designed for. Mob packs run a fixed threat pattern: with several enemies attacking at once, your Sha-Chi is funding block drain, heavy attacks, and reactive moves simultaneously, and one overspend empties the bar in seconds. The priority list almost writes itself: parry what can be parried, because a Perfect Defense steals Sha-Chi from the enemy; dodge the instant a red light shows; think about swapping weapons around the halfway mark of your bar; and spend the first breach window on a finisher, because a corpse stops making demands.
Two new wrinkles in the boss fights
S-GAME's 11-minute August gameplay trailer showed two fights players are still discussing: Huang Xingzi's second phase, a Sha-Chi-gone-mad form with visibly heavier pressure, and the white-haired swordsman on the snow mountain, where allied NPCs join in to share the load — the helper spreads the pressure, but reading signals and managing the bar remain your job. 3DM's report on the trailer. Tokyo Game Show's boss, Wan Jun "Coppermaul," taught a different lesson: his enormous hammer swings are all parryable, and once the timing clicks, a chain of Perfect Defenses strips his Sha-Chi in one sequence and hands you the finisher window. IGN's account of that fight is the loop working exactly as designed — learn the pattern, steal the resource, end the fight.
Higher difficulty: enemies read you too
One warning from the same frame analysis: on higher difficulty, an enemy with Sha-Chi to spare will answer your offense, not just absorb it. Between your combos they can pull their own ultimate or set a counter-stance that punishes your next input. The signal language cuts both ways at every level of the game.
Phantom Edges: the answer slots
Phantom Edges — the two secondary-weapon slots — carry their own economy and their own answers. They run on red orb ammo, start with a fixed stock, and refill only at bell points, and some of their charged attacks follow the blue-red rules too: the great axe's first charged stage is a blue heavy attack, its second stage a full red ultimate. They are also the designed answer to specific crowd problems — IGN burned two dagger ambushers alive with Flaming Mane, a flame-spewing lion mask. Choosing a Phantom Edge is choosing which type of threat you want a ready-made answer for.
Where the loop meets progression and difficulty
The defense loop does not sit in a vacuum. Weapon upgrades change how it feels to run — leveling a weapon unlocks new forms and techniques, and the reforging system resets invested materials in full if you want to change direction — while the loadout layer of two primaries, two Phantom Edges, potions, and accessories decides which cards the loop lets you play. Difficulty changes the pressure on the same loop rather than replacing it: S-GAME has said the higher tiers make enemy behavior harder rather than just inflating numbers. For the four tiers, the Sixty-Six Days mode rules, and what each difficulty changes, see Phantom Blade Zero weapons and difficulty.
If you take one sentence into the game, take this one: fight by the lights. Blue means prepare the Perfect Defense, red means dodge, Sha-Chi is a second health bar, and a breached enemy is a resource, not a threat.
Further reading
- Phantom Blade Zero weapons and difficulty: how the 55 weapons pair up, and which of the four difficulties to pick
- Phantom Blade Zero gameplay: what kind of action game it actually is
- Worlds and levels: how the eight ink-wash maps connect
- Phantom Blade Zero side quests and secrets: new story paths and the exploration layer
This article is based on official demonstrations, developer interviews, and press hands-on reports. Mechanics described here reflect the pre-release playtest builds and official showcase footage; final rules may differ at launch. The game itself is the final authority.